Installing the HT-IRATM-4
The HT-IRATM-4 is a flexible unit that can be installed either
-
on top of an LCR or tower speaker,
-
freestanding or on a shelf, or
-
attached to a wall or ceiling.
Preparations
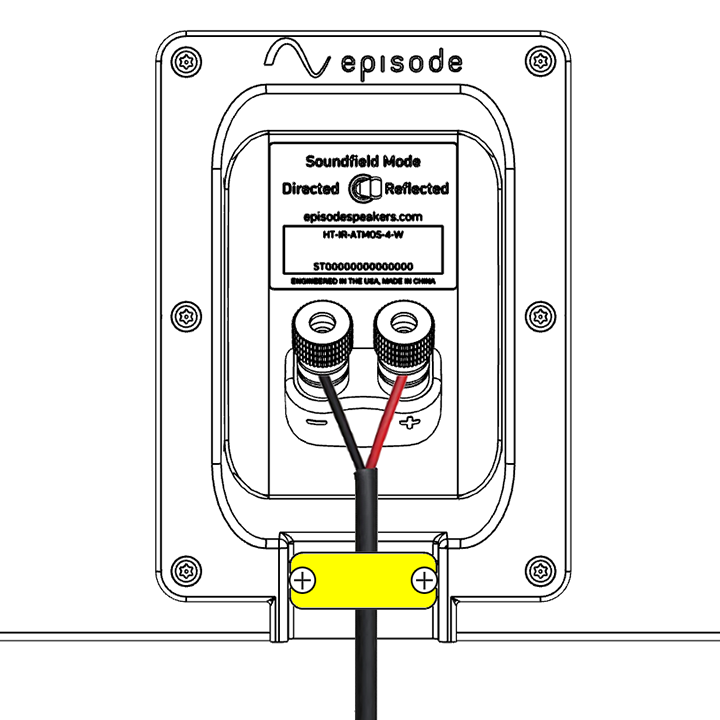
Select the speaker mode
Flip the switch to designate whether the speaker is aimed at a wall or ceiling ("Reflected," right), or is aimed at the audience ("Directed," left).

Attach the wires
Run the wires beneath the stress relief bar as shown, and connect them to the speaker terminals.
If your wires already have banana clips attached, you can loosen the screws holding the stress relief bar for extra room.
On a speaker or shelf
Attach the four small adhesive feet, one in each corner of the speaker. Set the speaker in place.
On the ceiling
Attach the four large adhesive feet, one in each corner of the speaker.
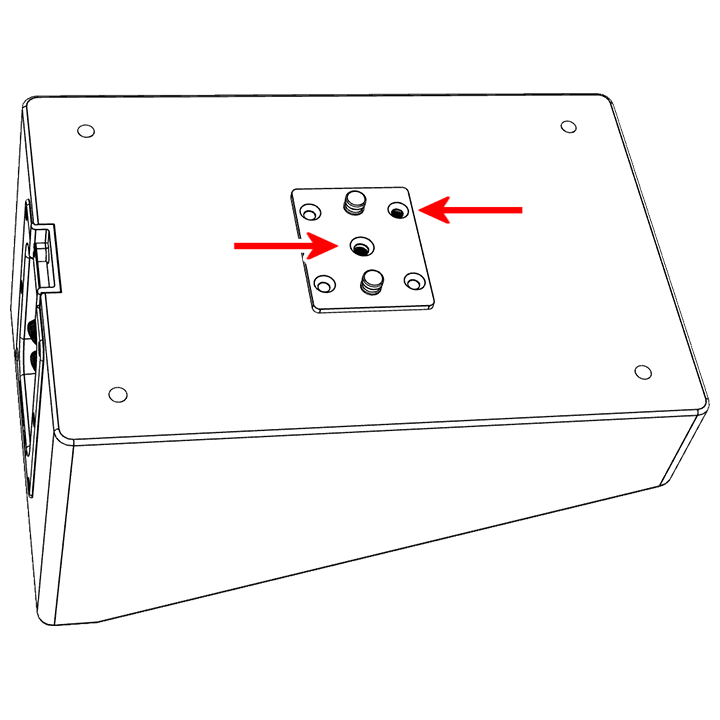
Attach the mounting pins
Insert the mounting pins into the mounting pad.
Secure the pad to the speaker
Use the screws provided to secure the mounting base to the speaker body as shown.
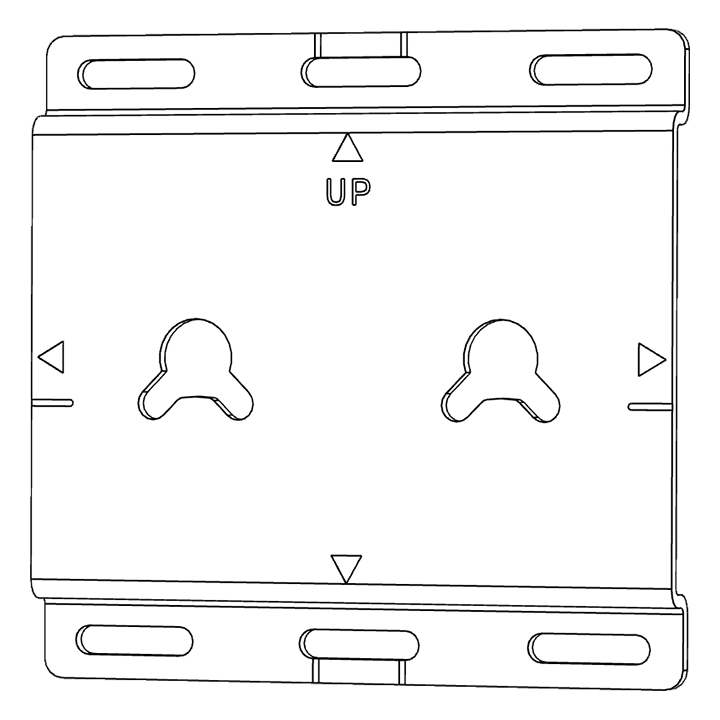
Attach the bracket
Attach the bracket to the mounting surface. Note that the keyholes are angled, so the bracket must be mounted off-center. Be sure to use the guides etched into the bracket to locate the bracket properly.
Mount the speaker
Insert the mounting pins into the keyholes of the bracket. Ensure that the pins are well seated in the keyholes.
Insert the locking bar
Slide the locking bar into the gap between the edge of the mounting bracket and the mounting pins on the speaker. This prevents the speaker from vibrating itself loose in ceiling installs.